These were my materials:
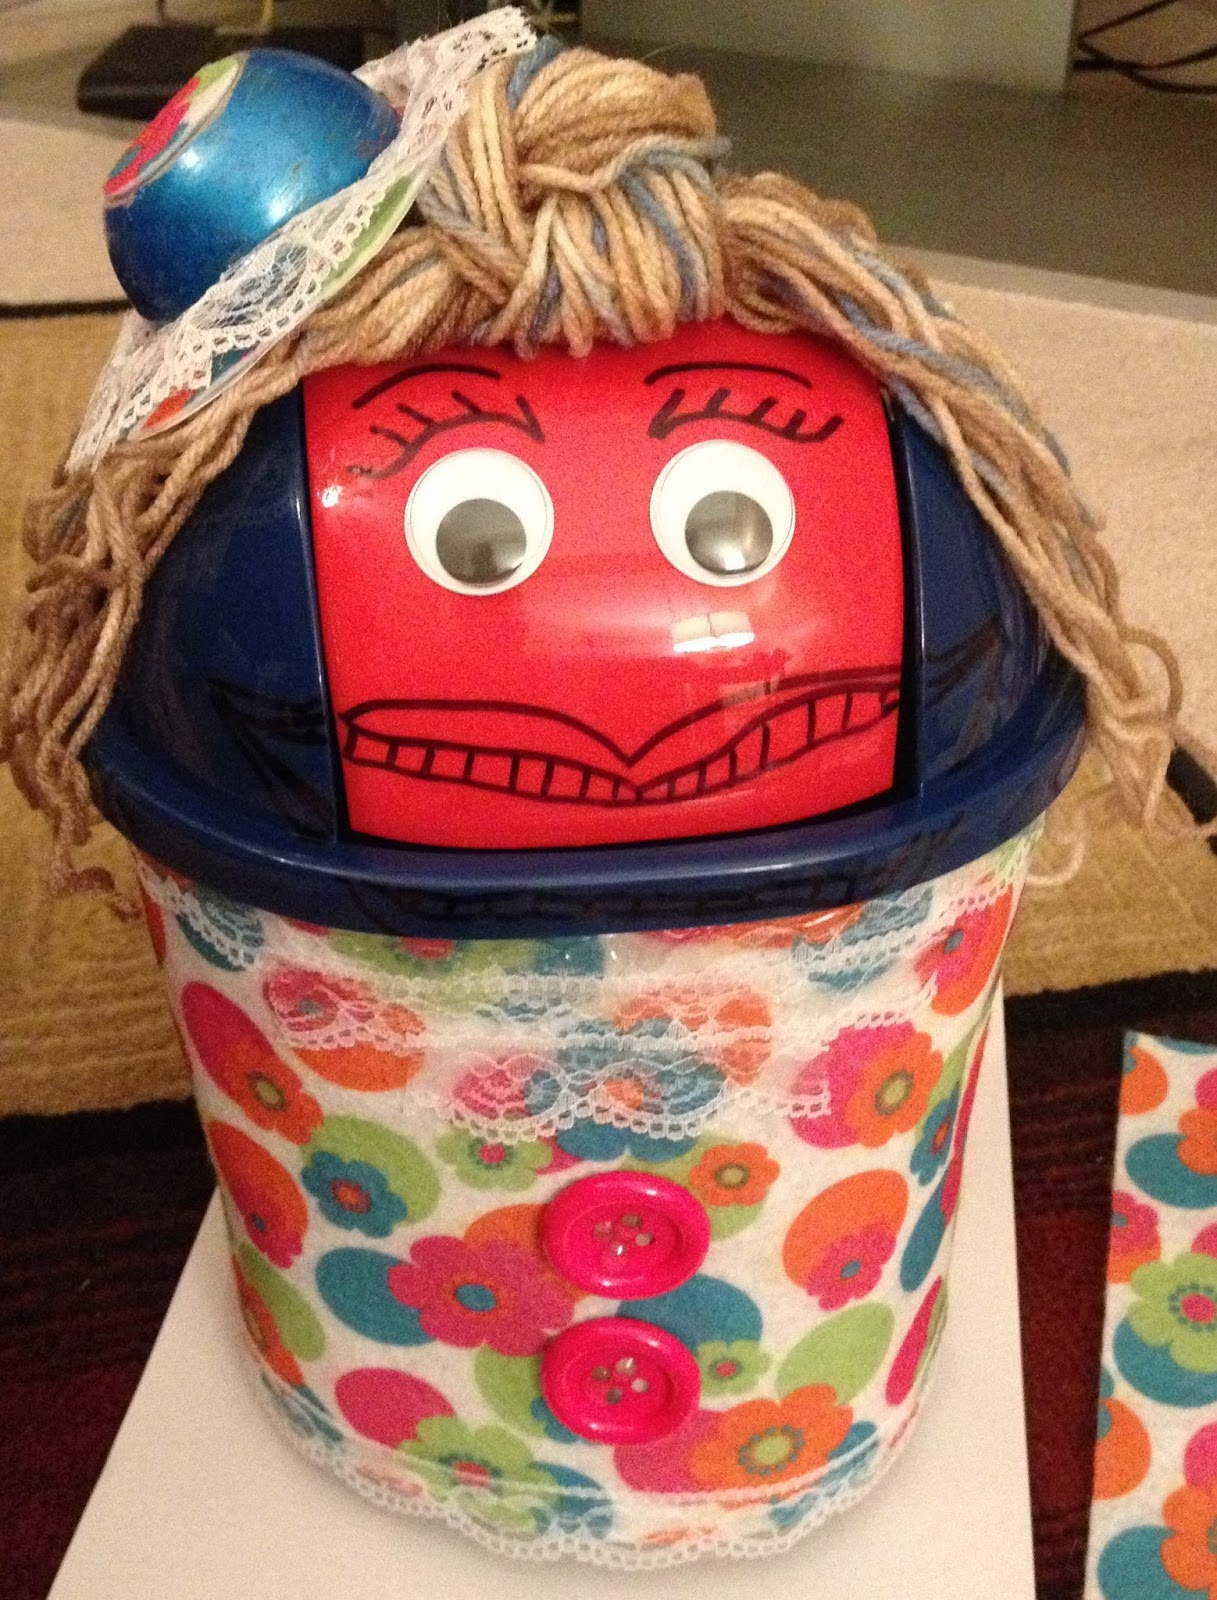
With the help of my reliable hot glue gun, the birth of my little old lady was ready to begin.
1. I began by hot gluing the decorative felt to my mini garbage can (this would become her dress).
2. Next I cut and glued a lace trim, collar, and buttons for her dress.
3. I then tied and glued yarn for hair, eyes, as well as a tiny hat to match her dress. The hat was a last minute idea I created from the lace trim's plastic container.
4. Here is the finished product. I still may add more to her mouth (any ideas on materials to use for lips and teeth are appreciated). I also added a tongue and uvula on the back of the mouth for extra fun.
So that's it! My new old lady is ready for hours of gobbling and storytelling. I also found some more great lesson and activity ideas to use with these stories. I've included descriptions with the links below.
Here is a great idea using an old lady pattern and ziploc bags from Mrs. Vento's Blog (just scroll past the TLC farm activities).
One of my favorites is this small group and bulletin board idea from Doodle Bugs Teaching .
I love these Old Lady Printables! They can be used for individual student activities or as patterns for making your own old lady kits using felt, cardstock, magnets, etc.
The Big Idea's for Little People Blog posted about a student-made puppet storytelling set. Students use a paper bag and popsicle sticks to make story puppets.
The author of I am Momma, Hear Me Roar's Blog posted about a fun fabric storytelling kit.
I hope these are helpful for you and I'd love for you to share your favorite "There was an Old Lady..." ideas and activities in the comments section! Thanks!


.JPG)